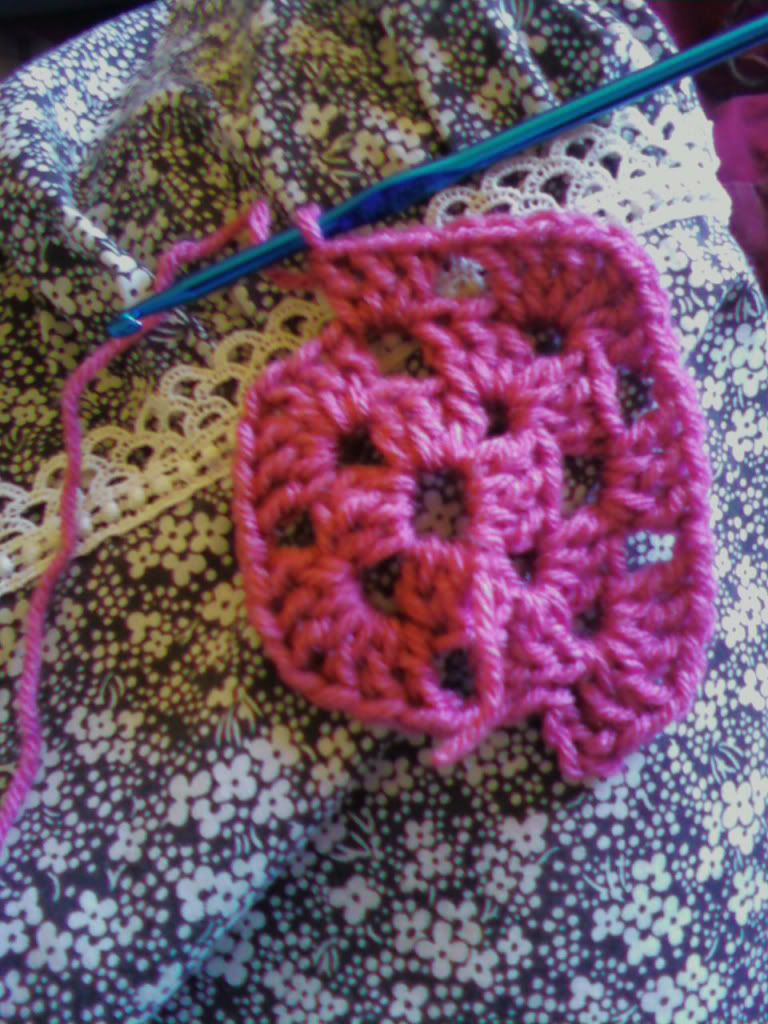
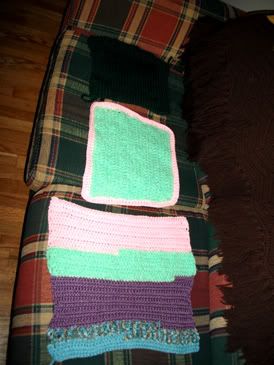
29 August 2010

tofu cutie's charity mittens


finally, i have a pattern to post! this mitten pattern is worked flat with seams on the thumb and side. the stitch pattern and increases/decreases are modeled off of bev's 2-needle mittens knitting pattern, which i ADORE. i wanted a crochet pattern which would be more seamless to make. these work up quickly- i made a pair in a couple of hours. the pattern is written to be adjustable, so you can fiddle with it on your own. try increasing yarn and hook sizes to make a bigger mitten if you don't want to add rows. for this pattern, i used Red Heart Super Saver in "Aruba sea" and a size G hook.

A FEW NOTES
this pattern is intended for your own personal use and for use for charity. please do not sell this pattern or items made from it (exceptions would be use to make mittens for a charity crafts fair or event where the money will be donated to charity.)

for an even-looking hand, crochet in the "right side" loop of each row.

you may notice that as you increase for the thumb stitches the piece gets a little crowded and unwieldy. that's all right- this is how it should be, and will make for a good thumb.

PATTERN
Cuff
row 1: ch 9. sc in 2nd ch from hook and each sc across- 8 sc.
row 2: ch 1, turn. sc in back loop of each sc across- 8 sc.
repeat row 2 until there are 24 rows. if you want a wider cuff, add a few additional rows.

Hand
turn the work so you will be crocheting along the long edge of the cuff and sl st across to form base sts of hand. i got 26 stitches. you should have the equivalent or near-equivalent of how many rows you did. make sure the stitch count you get is an even number. if it is not, just add another sl st on the end or in the middle somewhere.

row 1: ch 1, turn. sc in same st. sc in each st across, 2 sc in last st.
row 2: ch 1, turn. this is a little tricky. take the number of sts in your row and subtract 2. then, divide the resulting number in half. this will get you the number of stitches that you will make on each side of the thumb. so, since i have 28 sts in this row, i subtract 2 (26) and divide by 2 (13). therefore, there will be 13 sts on each side of the thumb sts. for 30 sts it would be 14 sts, for 32 it would be 15 sts, etc.

once you have the number figured out, continue as follows (the (#) represents the number you got):

sc in each of next (#) sts. (for me, i would sc in each of the next 13 sts.) 2 sc in each of next 2 sts. sc in each of (#) remaining sts. (for me, i would sc in each of the remaining 13 sts.)

row 3: ch 1, turn. sc in each of next (#) sts. 2 sc in next st, 1 sc in next 2 sts, 2 sc in next st, sc in each of next (#) sts. see where i'm going with this?

row 4: ch 1, turn. sc in each of next (#) sts. 2 sc in next st, 1 sc in next 4 sts, 2 sc in next st, sc in each of next (#) sts.

row 5: ch 1, turn. sc in each of next (#) sts. 2 sc in next st, 1 sc in next 6 sts, 2 sc in next st, sc in each of next (#) sts.

row 6: ch 1, turn. sc in each of next (#) sts. 2 sc in next st, 1 sc in next 8 sts, 2 sc in next st, sc in each of next (number) sts.

note: 12 sts for the thumb is USUALLY enough. if you need a bigger thumb, i suggest continuing this pattern until there are 12 sts between each "2 sc". don't make it bigger than half the hand width, though, or you'll end up with an oven mitt!

Thumb
next row: ch 1, turn. sc in next (#) sts. sc in next 12 sts (more if you decide to make thumb wider- the number of stitches will be 4 + however many you had between each "2 sc". so if you did 2 sc, 12 sc, 2 sc, it would be 16 sc total, and you would sc in next 16 sts.)

ch 1, turn. sc in each of next 11 sc (12 thumb sts, or however many you have).

repeat last row 4 more times until there are 6 rows. if you want a longer thumb, add more rows.

next row: ch 1, turn. sc 2 tog across. you may have 1 extra st; just sc in it and turn.

TWO WAYS OF SEWING THUMB
  1. cut yarn, thread through remaining sts, pull tight. leave long strand of yarn for sewing up thumb later. reattach yarn at NEXT st on base row and sc in each st across (13 sts or whatever # you have.)
  2. insert needle from side of row opposite yarn and weave through remaining sts in row. yo with crochet hook and pull all sts through so you have a loop on hook and all sts are pulled tight. fold mitten in half and crochet 2 sides of thumb together (i prefer sl st). when you reach the base, continue with a sc in each st across (13 sts or whatever # you have.)
the first is a little more precise when it comes to stitching the thumb, but some find it to be messy to reattach the yarn. the second lets you continue uninterrupted, but can make the thumb a little smaller.

Hand (continued)

next row: ch 1, turn. Sc across each of next (# x 2) sts. since i had 13 sts on each side of the thumb, i crocheted across each of the next 26 sts.

repeat last row until there are 10 rows.

next row: ch 1, turn. * sc2tog across next 2 sts. sc in next 2 sts. repeat from * to end, sc in last st, turn.

next row: ch 1, turn. * sc2tog across next 2 sts. sc in next st. repeat from * to end, sc in last st, turn.

next row: sc2tog across, sc in last st, turn.

gather and sew up the edge of the mitten using one of the 2 ways provided above, and you're done!

if you find any errors in this pattern or have questions, please leave a comment and i'll get back to you!

20 August 2010

summer fading

what is your favorite part of summer?
in montana, we tend to say "the weather". this will last a week or so until people start complaining about the heat, the crowds at the lakes, the money spent on water to soak the garden and lawns. being from both arizona and montana, i tend to dismiss weather when i think of my summer love.
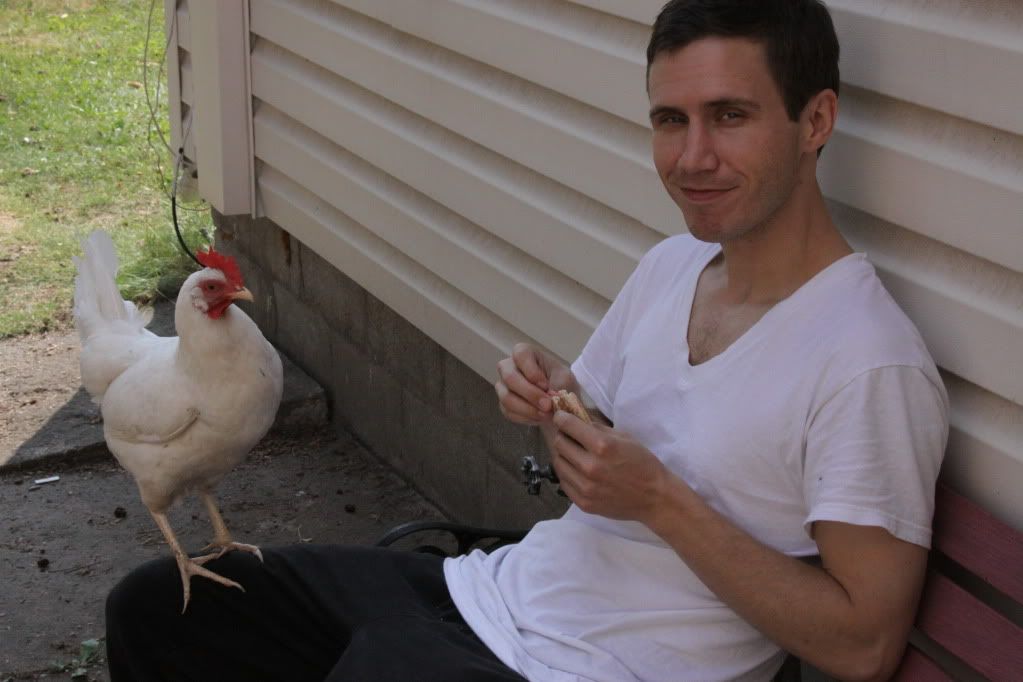
(yes, that is my fiancé with one of our chickens- nancy, the most brazen of them all.)

i love possibilities in summer. the idea that you can go outside at any moment. the new growth of things, which here doesn't begin until may. the perk in everyone's step. the hair let down, the clothes shed. fresh fruits and vegetables that taste like sunshine. summer is a period of growth. it is a time when, after long hibernation, our bodies become alive again under the sun.
in a month it will be fall. it is already winding down here. we got two months of sunshine. before that was snow. i am just grateful to have felt it at all. i will be living in a place where there is sun all the time, soon enough. for now i am savoring the smell of the warm pine needles in the sun.

15 August 2010

crocheting for charity

a little while back i did a website to find items that accept crocheted/knitted items for charity. i found an abundance of websites for a variety of projects, and i'd like to dedicate this post to highlighting these charities. my monthly crochet for charity group on ravelry has already made a bunch of items to give to a few, but i am just astounded by the amount of charities that are out there. if you have a charity you'd like to have posted here, please PM me on ravelry (ikisstrees) or send me an email at buckleybones AT gmail DOT com.

31 July 2010

baby crafts

so i've decided that, since every project i begin takes me about 6 months to complete, i'd better start working on some baby items so that when the time comes i'm not bereft. babies have been on my mind a lot lately, especially since the Man and i are getting married next year, so i thought it might be fun to do some baby items (especially since i don't have anyone else to make them for.) the "monthly crochet for charity" group on ravelry has a focus on booties/blankets this month as well- i figure it's grounds for good practice!

my current project is this pattern from Lion Brand yarn.


it's very instantly gratifying and works up super quick (in other words, my type of project!)

i'm making it in bernat handicrafter cotton, in a very neon teal blue. but tofu cutie, you protest, how will cotton warm your baby, presumably what blankets are intended for? since my fiancé (i love calling him that!) is from phoenix, and we are moving there in a few months, my guess is that any baby we have will be born there, and- if i have my way- will be born august/septemberish. august in phoenix is around 117 degrees. poor child will not need a blanket for some time methinks. don't worry, i'll knit a wool one for all that air conditioning.

what are some of your favorite baby projects?

24 July 2010

all right, i admit it

i'm a bad poster.

in fact i forgot about this blog entirely. it's only recently reading craftpassion that i've had a mind to start up again. but would you like to know why i don't post regularly? my canon 50D. yes, that's my excuse. my bad-ass camera.

it would be different if i could just click & upload with no issues, but whenever i take a picture i have to upload, edit and resize it, which on my poor little computer (which only has photoshop cs3 and wheezes every time i open the program) takes forever. so photographing projects has become a bit of a hassle.

here's what i'm working on currently:
  1. tams aplenty
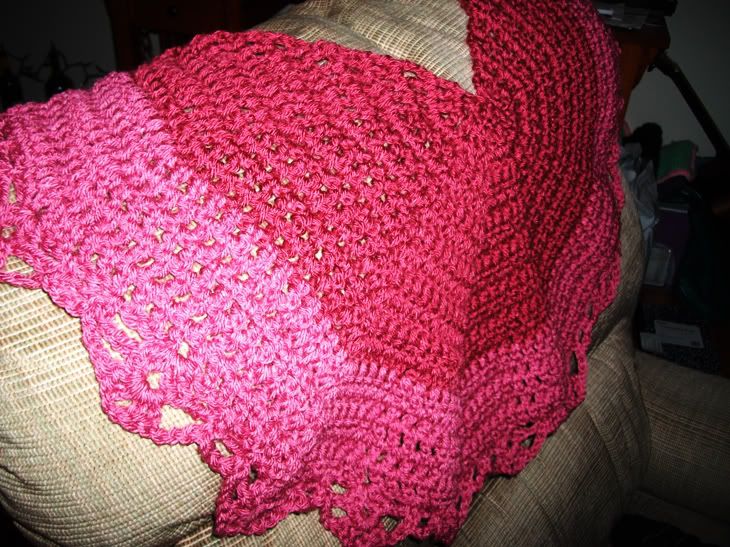
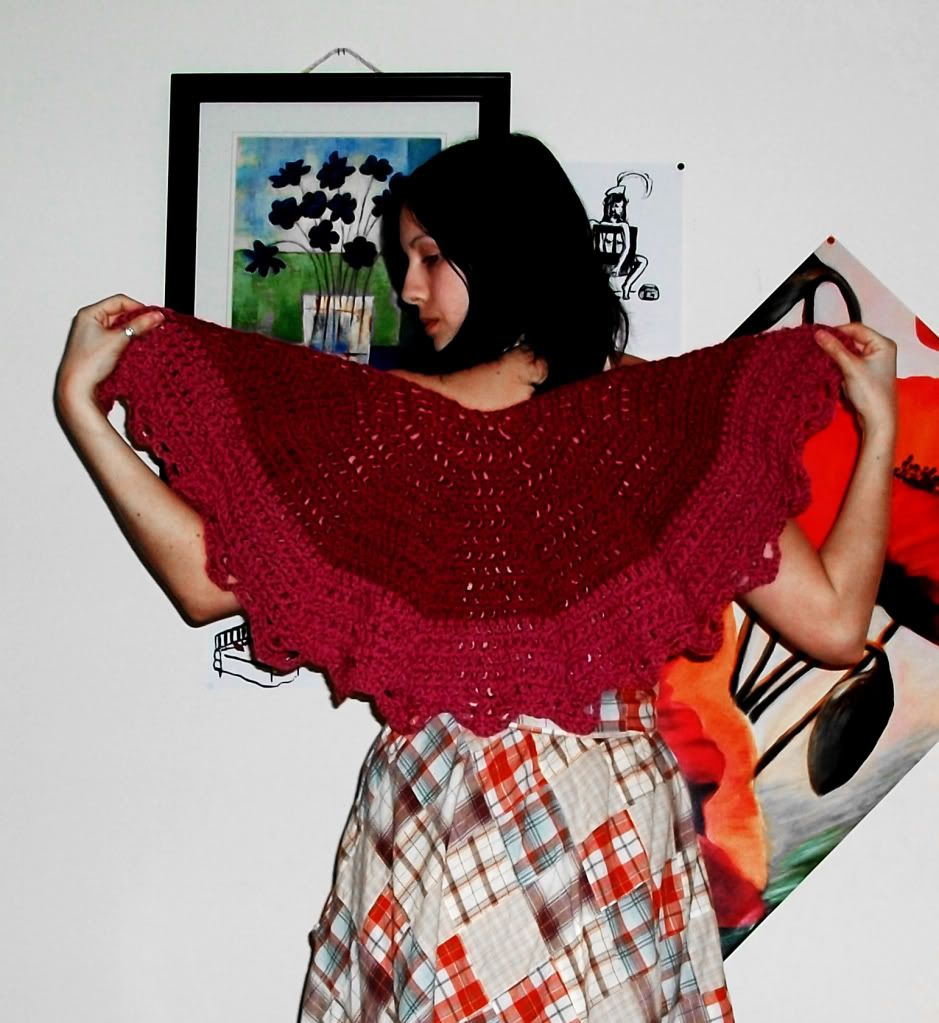
  2. this shawl
  3. a rag rug
it's hard to stay focused, since it's summer and i just got a whole gallon of yarn from my mom, and my brain is overrun with ideas. but i'm trying.

and i'm going to TRY to update here regularly. because i want to be a blog people read and get inspiration from.

12 December 2009

oh, christmas...

one of the things about being poor is that you make christmas gifts instead of buying them... and i swear the process is driving me crazy! i've felt very accomplished that i made gifts so far for my niece, my best friends, my mother and my grandmother. but i still have my other niece, my older sister, my fiance's sister, my fiance's mother, and my friend in phoenix to take care of... and it's already the 12th!

well, that's how it goes, i suppose.

03 December 2009

christmas is coming!

i think this will be the first christmas where i actually have gifts for everyone. since i am utterly broke, they are all handmade, but i don't mind (and hopefully they won't either!)

i'm making a couple of the triangle shawls (i posted the pattern here) for my mom and grandmother. i'm embroidering a bib for my new nephew-in-law, a hat for my friend, a scarf for antoher friend, and so on and so on. going to colorado for thanksgiving meant lots of car time and therefore lots of craft time. because i am perpetually sidetracked i made a hat for myself along with mitts in the same color with lion brand homespun, and a hat for my fiance since his head kept getting cold.

now it's 15 degrees out, snowing, and i'm excited for winter!!!

22 November 2009

Red Heart

For a very long time I was prejudiced against Red Heart yarn. I had it labeled as the domain of extremely poor people and grandmas. But recently I've been buying scads of it and I've had to change my tune, especially since I found out that if you wash the item you make in warm water with castile soap (i.e. Dr. Bronners) or shampoo, the sizing that makes the yarn stiff and scratchy will wash off, and the item will get softer. I have tried this several times with moderate success.

I'm not a total RedHeartophile- there is only so much my fingers can take- but I'm enjoying their color selection now that I am in the boonies and am too poor to buy from a LYS. Our Joann's is small and has a poor selection of yarn, so I find myself turning to Red Heart more and more often. We'll see how long this lasts.

There's a long thread on Ravelry about this that I've been following, and it's interesting to see the opinions.

13 November 2009

granny squares

I spent all of yesterday working on this pattern, to make one of those granny-square hippie halter tops that you will need to line with fabric if you have any common decency. I have no illusions about my body, so I know exactly how I look in everything, but I figured I could give this halter top a try. I learned quickly that, being made of granny squares, it's going to show everything if you allow it to, which is why it will be lined with cotton before wearing to prevent nippledom.

(How did people get away with these patterns in the 70s? Crocheted bathing suits, crocheted tank tops... and no one wore bras with them, OR seemed to mind that their goodies were on display. I guess this is the darker side of the sexual revolution or something.)

Then again, as What Not To Crochet points out, sometimes crochet can be used as a contraceptive strategy, so maybe the designers of kinky halter tops had the complete emasculation of men going for them.

12 November 2009

Back

I've been gone forever, and undertaken a huge move! Now I'm back, and in the cozy cold boonies where crafting comes in handy to keep you warm and looking good. I've been making hats like a madman and selling them just as quickly (thank you, Etsy!) I'm making gifts for everyone for Christmas... been doing lots of knitting, crocheting, and even embroidery.
I've also been trying out new crochet stitches, making afghan blocks for an afghan I'm going to donate to the old folks' home where my grandma lives.
Oh, and taking pictures of the local scenery.
I have several new patterns up at Quazen: Thick Scallops Washcloth, Bulky Single-Crochet Tam (a new favorite of mine), Wheel Washcloth, and Crunch Stitch Washcloth. As you can tell I'm on a washcloth kick. I'm not sure how I feel about that site. It's easy to post articles, and that's the quickest way for me, but sometimes they put up weird ads on the page, so just read the article and DON'T CLICK ANYTHING. Haha.

What have you all been up to in my absence? I'd be surprised if anyone reads this anymore, but I'm glad to be back. :)

02 June 2009

old-fashioned triangle shawl

hello hip readers,
sorry for the long delay between posts. i've been crafting, but not as much as i would like. it's sort of got put on the back burner for a while while i got other things done.

i came across a great pattern in mother earth news for an old-fashioned triangle shawl. i've been looking for a pattern like this forever- ravelry doesn't have much in this department. i'm making one now. it's super easy and doesn't look as grannyish as you'd think. i'm planning on modifying the pattern to make a poncho for my next project.

here is the pattern itself. i'm copying it here because on the website it's kind of illegible in parts. it calls for worsted weight and an H hook; i'm using medium weight and a J hook myself and it seems to be going very quickly. if you wanted something thicker and tighter, i'd suggest following the pattern exactly; smaller hooks will mean smaller spaces between squares.

Materials:
12-oz. 4-ply, worsted weight yarn in desired colors
Size H aluminum crochet hook

Notes:

The chain 3 at the end of each row is also known as the turning chain. Always remember to count the chain 3 turning chain as your first double crochet of your next row. Example: At the end of the row, ch 3 (turning chain). Do 2 dc in the same space as ch 3 (turning ch). Now you have (ch 3, dc, dc) which equals 3 dc.

Shell:
Working (3dc, ch 1, 3dc) all in the same space makes a shell which gives you an increase at the center. This gives you the point of your shawl.

Starting at center neck (straight edge), ch 6.

Row 1: 2 dc in 4th ch from hook, ch 1, sk 1 ch, 3 dc in last ch, ch 3, turn.

Row 2: 2 dc in first dc, ch 1, shell of (3 dc, ch 1, 3 dc) in next ch 1 sp, ch 1, 3 dc in top of turning ch, ch 3, turn.

Row 3: 2 dc in first dc, ch 1, 3 dc in next sp, ch 1, shell of (3 dc, ch 1, 3 dc) in center sp for center inc, ch 1, 3 dc in next sp, ch 1, 3 dc in turning ch, ch 3, turn.

Pattern row: Count turning ch as first dc. Work 2 more dc in first dc for an inc shell. (Ch 1, 3 dc) in each sp to center sp, ch 1, (3 dc, ch 1, 3 dc) in center sp for center inc, (ch 1, 3 dc) in each sp to end, ch 1, 3 dc in top of turning ch for inc, ch 3, turn.

Repeat Row 4 for pattern, working until the piece measures about 26 inches from start, measuring through center from neck to point. Fasten off.

Straight edge border: Attach yarn at corner of straight neck edge, ch 1, sc evenly across straight edge keeping work flat. Fasten off.

the one that i'm making is really looking to be a beautiful shawl, even with the poozle yarn i'm using. (i know many people will scream when they hear i'm using red heart super saver yarn, but to be honest it's kind of an experiment- i'm going to wash it in shampoo afterward to see if it really does make it soft and awesome.)

cheers, everyone.

24 April 2009

yarn update!

oh man, what a week! it seems like i haven't been able to keep my mind ON work and OFF yarn, but that's okay! i've discovered that knitting while waiting for faxes is very soothing.

i've been a busy bee lately. here are a couple of things i've finished/worked on:
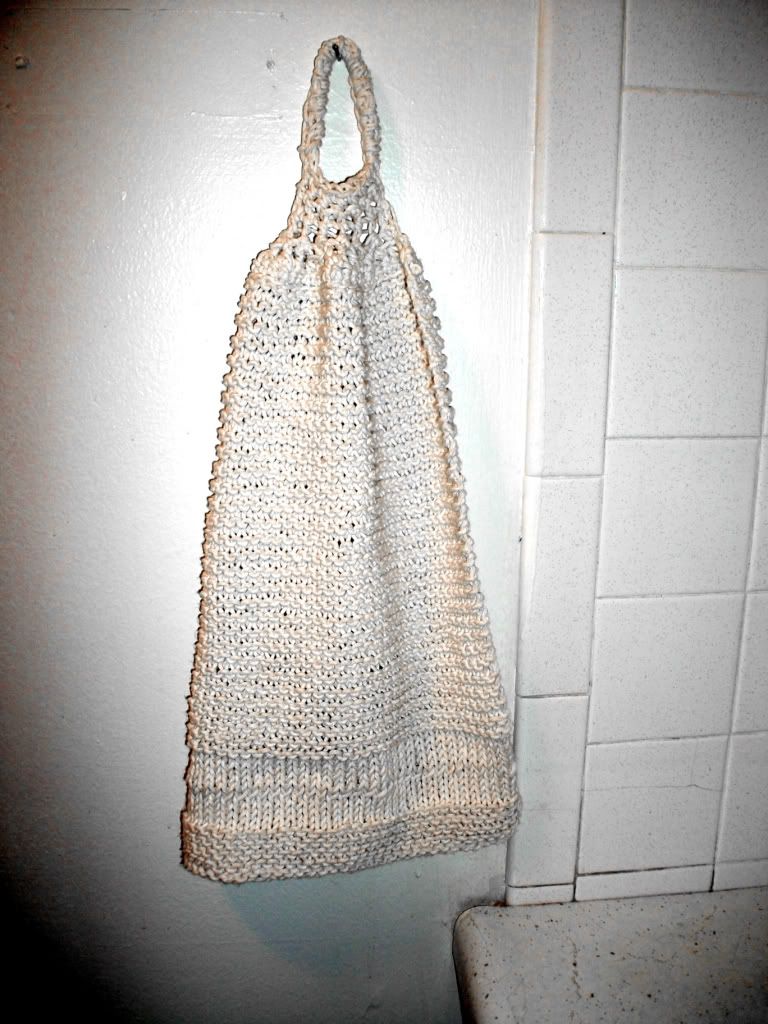
i was SO proud of this towel, despite its simplicity. i made it out of cotton cooking twine with size 11 (i think?) needles. the twine was like $4 and i still have plenty left. the towel is thick but not rough and it's great for wiping hands on after using the kitchen sink. it also looks homey!
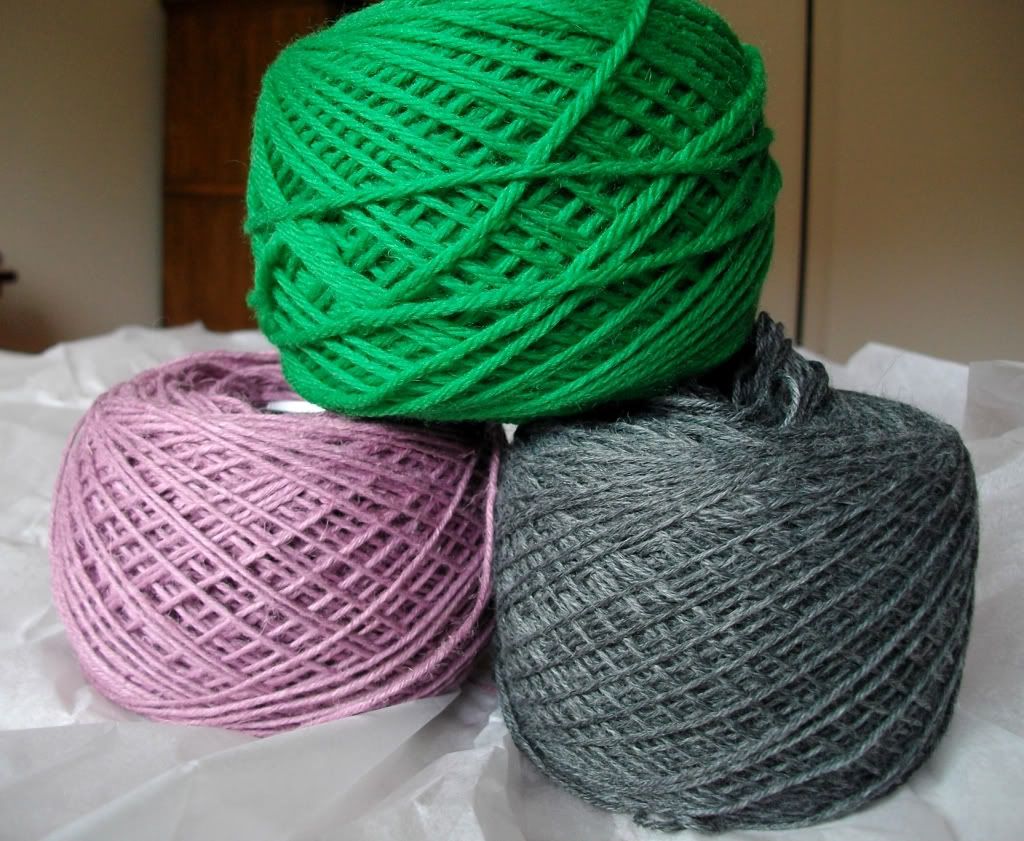
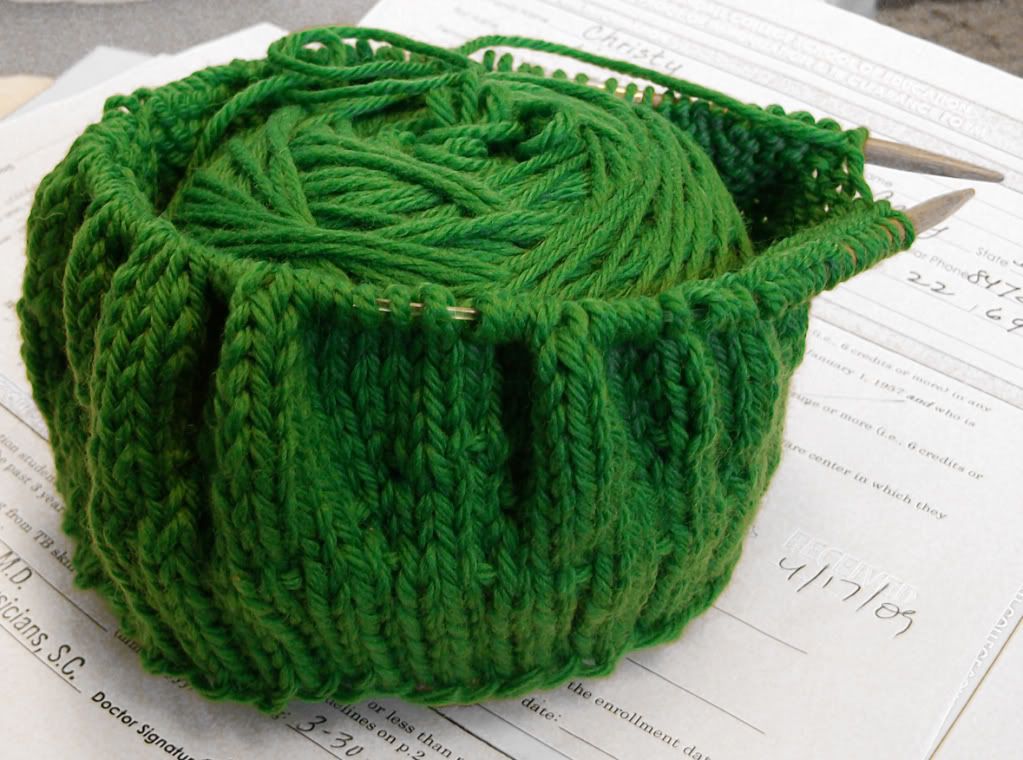
i went to loopy yarns a week or so back, the first actual LYS i've ever been to. i was overstimulated like woah and ended up spending $50. the purple stuff is hemp yarn and the grey is sock yarn for the socks i'm intending on making for J. the green is cascade 220 worsted merino, $8 a skein (220 yards) and super easy to work with. i tried to make a hat:
with my new 16" needles (i never realized how much 24"ers were holding me back) but, i am sorry to report, th eproject failed miserably when i got impatient and gathered it too quickly without adding many more rows while decreasing. the hat came out looking like a yarmulke. oh well. i can make it into a bag or re-use the yarn!

no patterns for the mo- i'm planning on going home and trying my hand at another beret. wish me luck. still working on the home sweet home wall hanging, the afghan, and something else i can't remember (figures!)

cheers.

13 April 2009

Easter weekend

This weekend was spent crafting away. The BF is away visiting family and friends, so I curled up in bed with my yarn all weekend. I finished a beautiful little poncho:

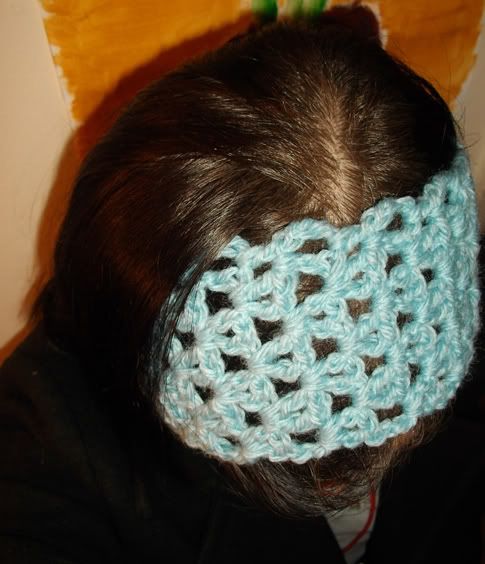
I also made a headband right quick this morning before work to match my outfit, since I didn't have anything to put on my head that did. I'm going to need more scarves... I wonder if I could make bonnets a popular fashion accessory, the way tams became? ;-)
And I promise I'm not losing my hair. I don't know why it looks that way.

The headband is a really simple v-stitch pattern. I'll put it up on here once I can get it written out.

I also made the cover for a pillow in a granny square design, with leftover yarn. Here is a picture of my granny square on my (new, bought at the thrift store) granny-style dress!
I realize that granny squares can be the devil, but they're so calming to me. And this one turned out supercute. I'll post a picture of the pillow once it's finished.

08 April 2009

No posts because I've been too busy! Had so much going on lately... right now I have several projects going: a washcloth, a Home Sweet Home thing done in filet crochet, a towel, an afghan, and a Snuggle... I ended up with 3 for March:
I actually managed to knit one, although you can't see it. Yes, they're ugly, but the pets will like them, I hope... I'm going to give them to PAWS Chicago.

This is just an update- hopefully more patterns soon, but with the way things are going I've already got my hands full! I will post a pic of the Simple and Pretty pattern soon though.

Cheers!

25 March 2009

Simple and Pretty

Here's a pattern for a simple and pretty bracelet that is a VERY easy knitting project and yet looks good enough to actually give as a gift to someone. I recommend at least a medium weight yarn with size 9 or larger needles. The pattern is as follows:

Cast on 8 stitches.
FOR ALL ROWS:
Right side: Knit.
Wrong side: Knit 2, purl 4, knit 2.

Do this until you have a bracelet-length piece, and then just sew it up using a tapestry needle to make a circle.

It is a simple but delicate looking pattern. My favorite thing to do is put a big decorative button over the seam. You can also weave a ribbon around and tie it in a bow at the seam.

Pics to come!
Hi crafters. Sorry I haven't written- I've had various camera issues in the past couple of weeks and one of them died altogether. I resurrected it with the help of Mr. Tabletop and Ms. Hammer. Surprisingly it works great now, as well it should since it was a Christmas gift.

When I read about the Snuggles Project, I knew it was something I had to do. The project, essentially, involves knitting/crocheting blankets for homeless cats and dogs. You donate the Snuggles to participating shelters and the dogs and cats can sleep on something other than a cold stone floor. I've lost both a cat AND a dog since October of last year, and have wanted desperately to get more pets; this lets me get involved with animals in the time that I have and somewhat calms my desire to own an entire farm. ^_^

Here is my first snuggle, ugly as poo in Easter colors but soft and cuddly:
Another project I undertook the other day was *gasp* a knitting project; don't fret, I held to my oft-observed stereotype of having an extremely short attention span and no knitting skill by knitting... a bracelet.

It is, however, cute.
I'm actually giving it as a gift to someone, but I was glad it turned out cute and not looking like the slacker project I considered it. I promise I'll try something more complicated later. I'm thinking of just doing knitting blocks to practice patterns... but god... that sounds like effort! ^_^

Oh yes, and with the success of my Kissuptopus I thought I'd try my hand at something cuter- and instead ended up with something creepier. I present to you, the only crochet project I have finished the past couple weeks: Creepy Cat.
It's cute to me, but realised it might be too voodoo-effigyish for the person I was intending on giving it to as a gift- and that person would be too polite to tell me so, leaving it sitting on her desk for weeks, staring at her with satanic yellow wool eyes...

So it's watching me at my desk. I dig it, at least.

11 March 2009

Kissuptopus

So I tried to make this bird as a gift for my boss. It didn't work because I'm impatient. Halfway through the pattern I got bored and decided to turn it into an octopus. So here it is... the Kissuptopus!

I stuffed it with a failed hat I was making for J. I made it with Caron SimplySoft Eco and a G hook. The eyes are little felted wool balls that I made myself from wool yarn. It's very cute, except the head is enormous! I think my boss liked it. Maybe not. She's not very good at showing emotion other than social perk.

Oh well. At least it kept my hands busy. I'm currently making a neckwarmer and crocheting a blanket for the Snuggles Project for PAWS Chicago. I went to their website the other day (PAWS)- I have to remember not to do that- it makes me want a property where I can own 50 cats and dogs!

Sigh...

09 March 2009

Simple Tam Pattern

Tams are stylish and preferable for people with locks and without. Tam patterns abound across the internet, and I have tried several of them without getting the results that I want. This is a simple pattern for a pretty tam big enough to hold hair and cover ears. It is NOT a pattern for an enormous tam and a lot of locks (although I will tell you how to increase the size in the pattern, should you want to.) This is my first time writing a pattern, so if something is confusing or just plain wrong for you, please let me know. Thanks!

Tofu Cutie's Basic Tam
Supplies needed:
Worsted, medium or bulky weight yarn
J hook (for worsted or medium) or K hook (for bulky)
Scissors!

Note: This pattern can be worked in a spiral if you prefer, but is written for the last dc in a row to attach to the first with a slip stitch. The first ch-3 always acts as a stitch- so, for example, in the first row, where 12 dc are needed in the first stitch, the first ch-3 acts as a stitch and only 11 more need to be made.

Rows
1. Ch 3. Dc in 4th ch from hook. Dc 10 more around for a total of 12 dc. (12)
2. Ch 3. Dc in same stitch (2dc). *2dc in next stitch. Repeat from * around. (24)
3. Ch 3. Dc in same stitch (2dc). *Dc in next stitch. 2dc in next stitch. Repeat from * around. (36)
4. Ch 3. Dc in same stitch (2dc). *Dc in next 2 stitches. 2dc in next stitch. Repeat from * around. (48)
5. Ch 3. Dc in same stitch (2dc). *Dc in next 3 stitches. 2dc in next stitch. Repeat from * around. (60)
6. Ch 3. Dc in same stitch (2dc). *Dc in next 3 stitches. 2dc in next stitch. Repeat from * around. (75)

If you need your hat to be very big, you can continue as many rows as you like with this pattern:
Ch 3. Dc in same stitch (2dc). *Dc in next 6 stitches. 2dc in next stitch. Repeat from * around.
Otherwise, continue:
7. Ch 3. *Dc in next stitch. Repeat from * around. (75)
8. Ch 3. *Dc in next stitch. Repeat from * around. (75)
9. Ch 3. *Dc in next stitch. Repeat from * around. (75)
10. Ch 3. *Dc in next stitch. Repeat from * around. (75)

You can continue this for as long as you like to make the hat long (like a sack.)

11. Ch 2. *Sc in next stitch. Sc dec over next 2 stitches. Repeat from * around. (50)
12. Ch 2. *Sc in next stitch. Repeat from * around. (50)
13. Ch 2. *Sc in next stitch. Repeat from * around. (50)
14. Ch 2. *Sc in next stitch. Repeat from * around. (50)
15. Ch 2. *Sc in next stitch. Repeat from * around. (50)
16. Ch 2. *Sc in next stitch. Repeat from * around. (50)


08 March 2009

Front Post Double Crochet

Um, how did I not know that this exists?

I accept that despite doing it for forever, I am a novice crocheter. I constantly have to look up stitches. The most adventurous thing I've tried is a Y-stitch. I stick to safe projects that involve double crochet and granny squares. But I was amazed when looking at a pattern on Ravelry today and saw that it called for a front-post double crochet, which I've never used. So I did, and voila! Enlightenment!

This will definitely provide fertile ground for new projects...