Showing posts with label tam. Show all posts

24 July 2010

all right, i admit it

i'm a bad poster.

in fact i forgot about this blog entirely. it's only recently reading craftpassion that i've had a mind to start up again. but would you like to know why i don't post regularly? my canon 50D. yes, that's my excuse. my bad-ass camera.

it would be different if i could just click & upload with no issues, but whenever i take a picture i have to upload, edit and resize it, which on my poor little computer (which only has photoshop cs3 and wheezes every time i open the program) takes forever. so photographing projects has become a bit of a hassle.

here's what i'm working on currently:
  1. tams aplenty
  2. this shawl
  3. a rag rug
it's hard to stay focused, since it's summer and i just got a whole gallon of yarn from my mom, and my brain is overrun with ideas. but i'm trying.

and i'm going to TRY to update here regularly. because i want to be a blog people read and get inspiration from.

24 April 2009

yarn update!

oh man, what a week! it seems like i haven't been able to keep my mind ON work and OFF yarn, but that's okay! i've discovered that knitting while waiting for faxes is very soothing.

i've been a busy bee lately. here are a couple of things i've finished/worked on:
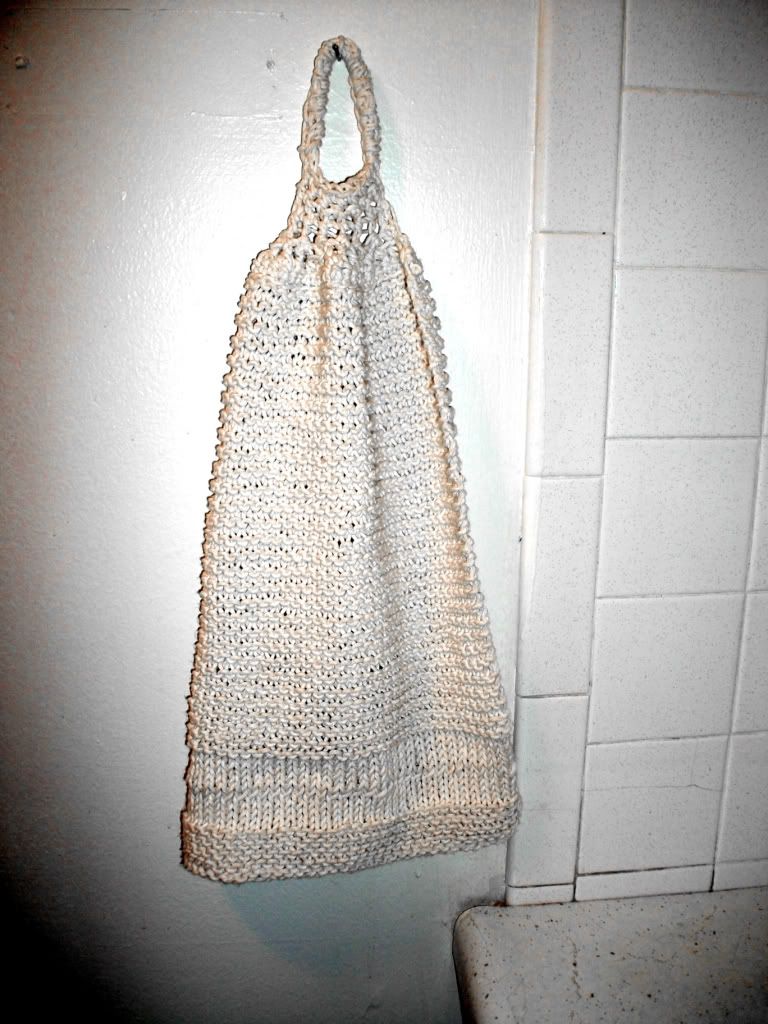
i was SO proud of this towel, despite its simplicity. i made it out of cotton cooking twine with size 11 (i think?) needles. the twine was like $4 and i still have plenty left. the towel is thick but not rough and it's great for wiping hands on after using the kitchen sink. it also looks homey!
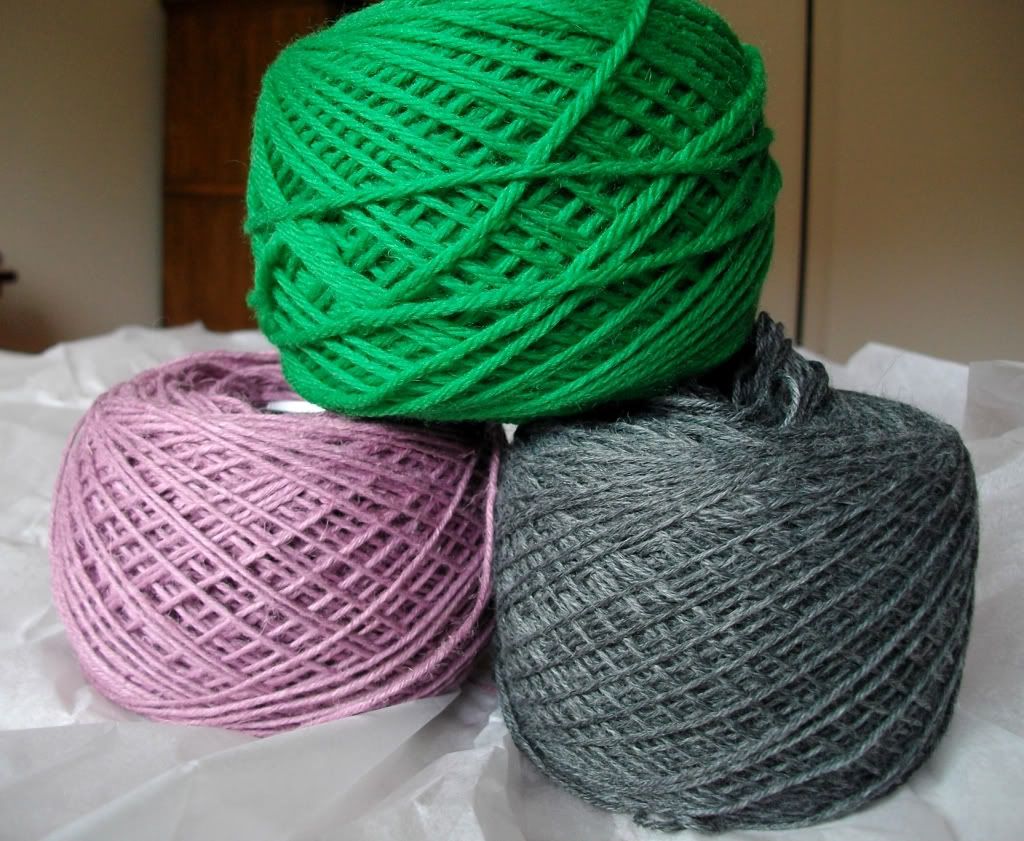
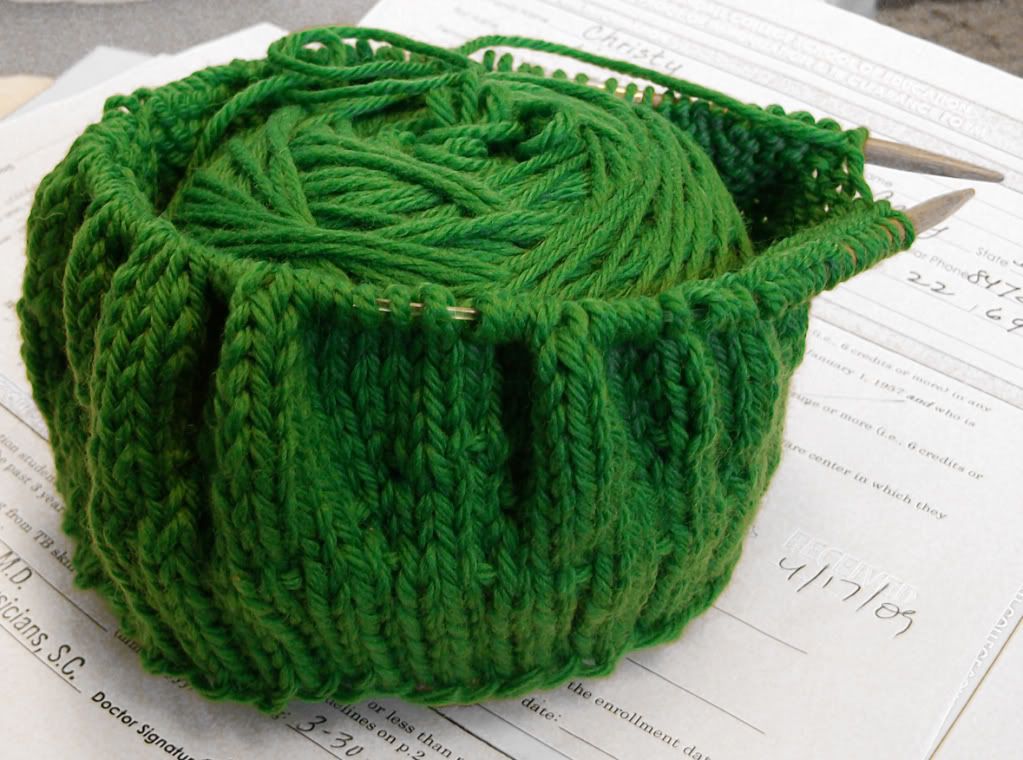
i went to loopy yarns a week or so back, the first actual LYS i've ever been to. i was overstimulated like woah and ended up spending $50. the purple stuff is hemp yarn and the grey is sock yarn for the socks i'm intending on making for J. the green is cascade 220 worsted merino, $8 a skein (220 yards) and super easy to work with. i tried to make a hat:
with my new 16" needles (i never realized how much 24"ers were holding me back) but, i am sorry to report, th eproject failed miserably when i got impatient and gathered it too quickly without adding many more rows while decreasing. the hat came out looking like a yarmulke. oh well. i can make it into a bag or re-use the yarn!

no patterns for the mo- i'm planning on going home and trying my hand at another beret. wish me luck. still working on the home sweet home wall hanging, the afghan, and something else i can't remember (figures!)

cheers.

09 March 2009

Simple Tam Pattern

Tams are stylish and preferable for people with locks and without. Tam patterns abound across the internet, and I have tried several of them without getting the results that I want. This is a simple pattern for a pretty tam big enough to hold hair and cover ears. It is NOT a pattern for an enormous tam and a lot of locks (although I will tell you how to increase the size in the pattern, should you want to.) This is my first time writing a pattern, so if something is confusing or just plain wrong for you, please let me know. Thanks!

Tofu Cutie's Basic Tam
Supplies needed:
Worsted, medium or bulky weight yarn
J hook (for worsted or medium) or K hook (for bulky)
Scissors!

Note: This pattern can be worked in a spiral if you prefer, but is written for the last dc in a row to attach to the first with a slip stitch. The first ch-3 always acts as a stitch- so, for example, in the first row, where 12 dc are needed in the first stitch, the first ch-3 acts as a stitch and only 11 more need to be made.

Rows
1. Ch 3. Dc in 4th ch from hook. Dc 10 more around for a total of 12 dc. (12)
2. Ch 3. Dc in same stitch (2dc). *2dc in next stitch. Repeat from * around. (24)
3. Ch 3. Dc in same stitch (2dc). *Dc in next stitch. 2dc in next stitch. Repeat from * around. (36)
4. Ch 3. Dc in same stitch (2dc). *Dc in next 2 stitches. 2dc in next stitch. Repeat from * around. (48)
5. Ch 3. Dc in same stitch (2dc). *Dc in next 3 stitches. 2dc in next stitch. Repeat from * around. (60)
6. Ch 3. Dc in same stitch (2dc). *Dc in next 3 stitches. 2dc in next stitch. Repeat from * around. (75)

If you need your hat to be very big, you can continue as many rows as you like with this pattern:
Ch 3. Dc in same stitch (2dc). *Dc in next 6 stitches. 2dc in next stitch. Repeat from * around.
Otherwise, continue:
7. Ch 3. *Dc in next stitch. Repeat from * around. (75)
8. Ch 3. *Dc in next stitch. Repeat from * around. (75)
9. Ch 3. *Dc in next stitch. Repeat from * around. (75)
10. Ch 3. *Dc in next stitch. Repeat from * around. (75)

You can continue this for as long as you like to make the hat long (like a sack.)

11. Ch 2. *Sc in next stitch. Sc dec over next 2 stitches. Repeat from * around. (50)
12. Ch 2. *Sc in next stitch. Repeat from * around. (50)
13. Ch 2. *Sc in next stitch. Repeat from * around. (50)
14. Ch 2. *Sc in next stitch. Repeat from * around. (50)
15. Ch 2. *Sc in next stitch. Repeat from * around. (50)
16. Ch 2. *Sc in next stitch. Repeat from * around. (50)